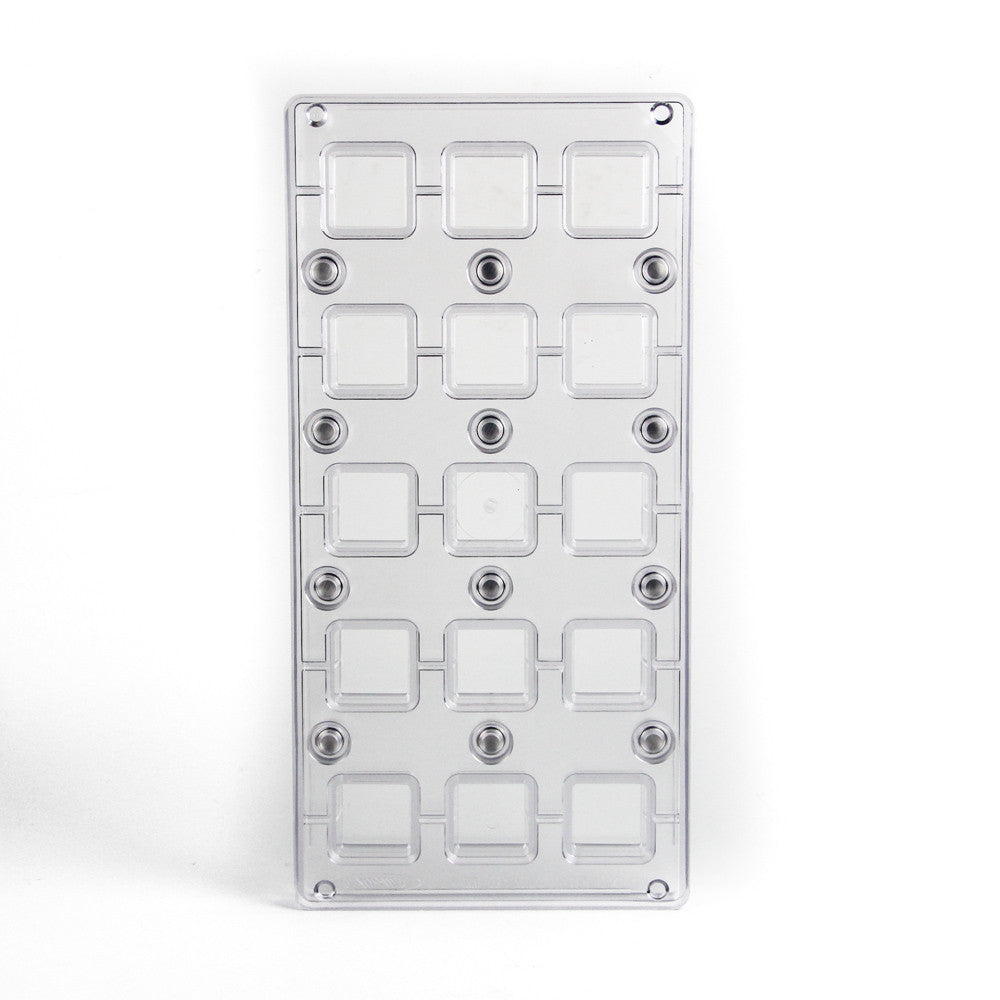
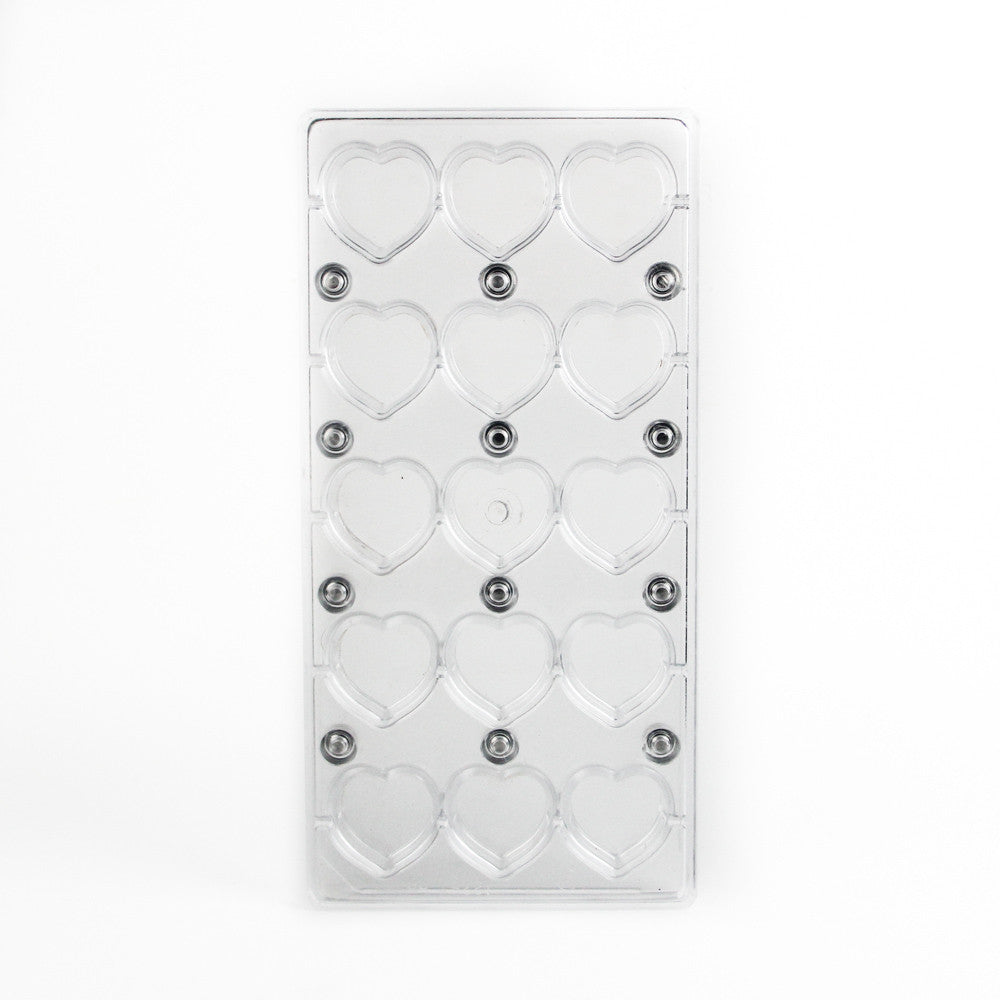
Magnetic Chocolate Mold
$43.00 $44.95
We love these magnetic chocolate molds. They can make things look very fancy but are easy to use and provide a lot of options for making solid, filled and decorated chocolates.
1) For chocolates you would like colored or textured on the outside, pull apart the bottom tray and top mold to insert textures (with texture sheets available in craft, kitchen and cake stores) or designs and colors with cocoa butter transfer sheets (available where texture sheets are sold). Make certain the texture and color sheets are facing up when you use the magnets to snap the mold back together.
2) Align and snap together the mold before filling the cavities with tempered chocolate.
3) Fill the cavity with tempered chocolate. If you would like a filled chocolate, then empty out the excess chocolate (to make room for filling) and scrape excess chocolate off the outside of the mold. Allow tempered chocolate to harden and set up.
4) For filled chocolates, pipe the filling into the chocolate shells made in step 3 before covering the top of the mold with tempered chocolate and allowing the chocolate to set up. Once this is complete, the chocolates are ready to be released from the mold (and enjoyed!).


